The Smurf a 1964 GMC Truck

Interior Cab

Home
Old air installation and wiring
1969 Firebird
Custom wiring
Gas tank and Steering Cloumn
Custom Ideas on other trucks
Other Projects and Toys
Frame Powder Coating pictures
Body Photos
Power Brakes and Power steering conversions
Transmission and Engine
Fuel Injection Wiring
Interior layout
Insulation and Carpet
60-66 GMC weblinks
Rims and tires

Below you will see the interior as it emerges. Not doing anything really fancy at this time. Just trying to get my ole beast going atm for traveling purposes here in a few more years :D.

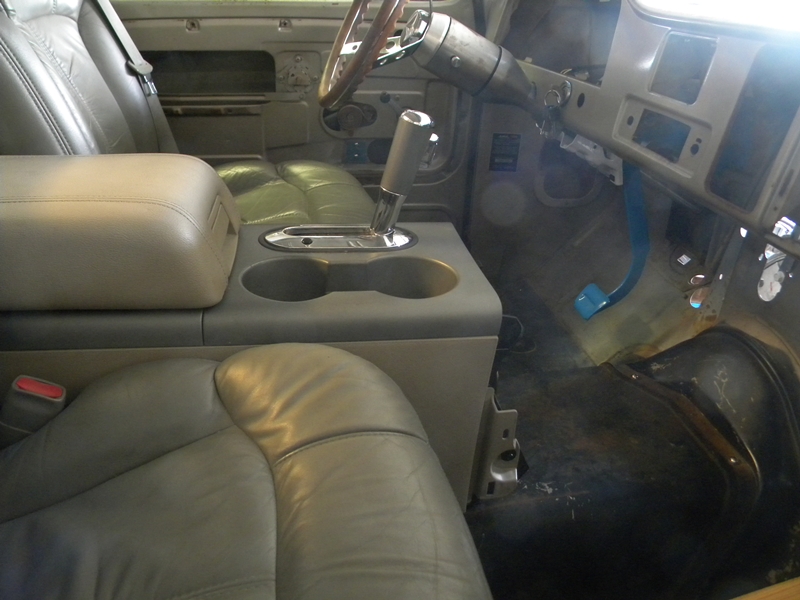
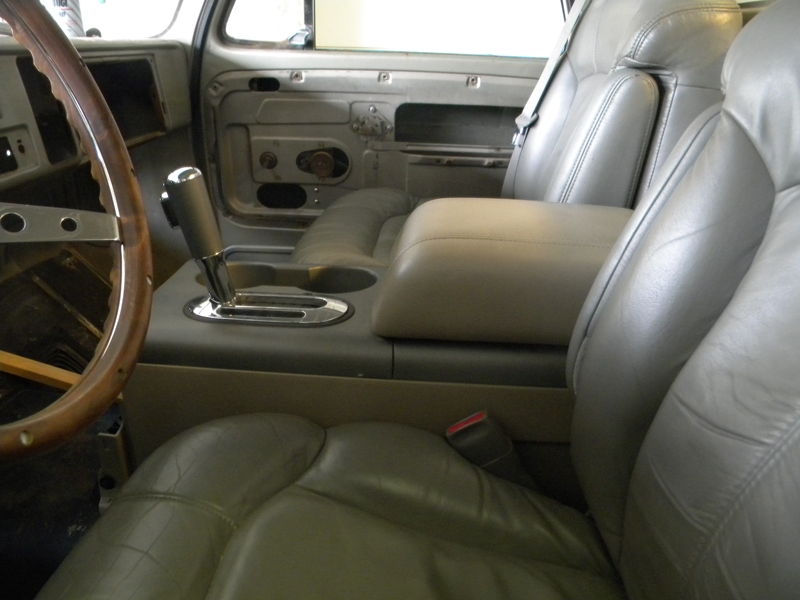
The pictures below show the work I am doing to make a center console addition to the truck at this time. I grabbed a center console with shifter from a 2008 ford f150. it does not have all the shift positions in order to use the manual shift mode of the 6l80e but I can live without that. It does however have a lighted shift indicator and tow haul button which will definitely be handy with this ole truck.

frcent5.jpg

frcent3.jpg

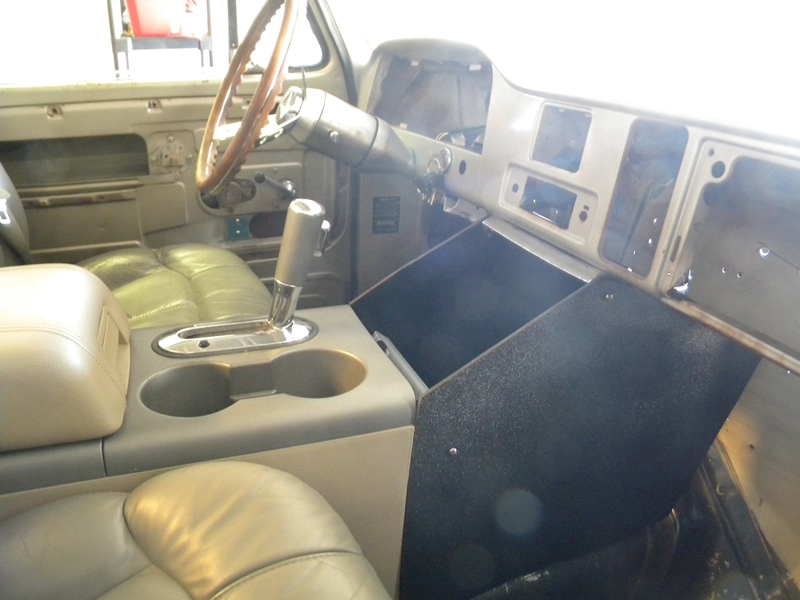
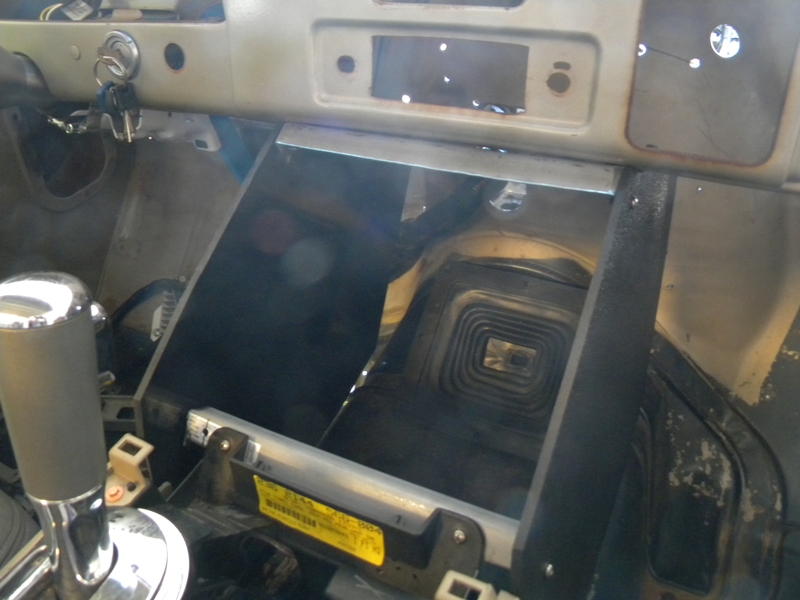
Above and below you can see the filler panels I am making for between the dash and the front of the f150 console. next step is to secure the bottom sections of the panels and make the face plate where the radio and ac bezels will be mounted. After that figure out where to place the ecm and fuse panel for easy access.

frcent2.jpg

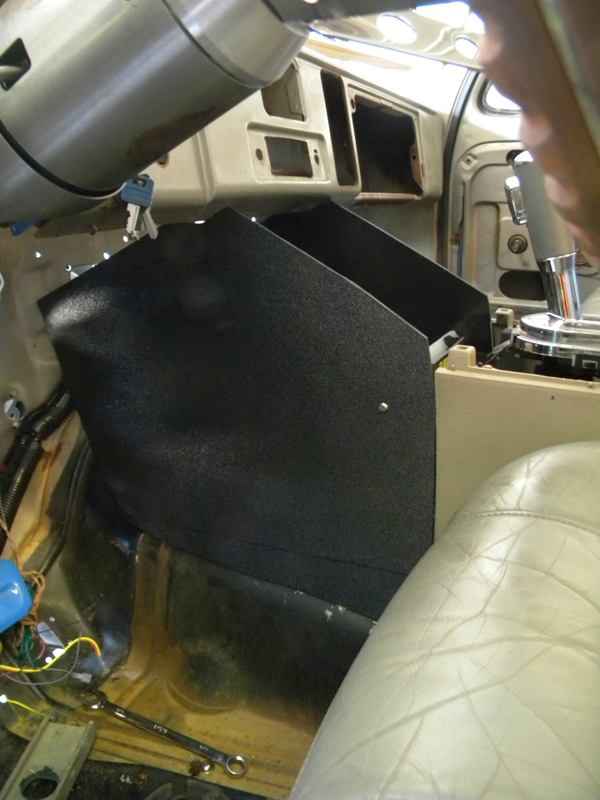
I may have to go in and remake the side panels on both sides luckily I have enough abs plastic panel to make another set without any problems. Will know more when I get the face panel where the radio and ac bezels will mount completed. might even try some custom bondo work or epoxy resin and make a lip the merges smooth with the dash panel there. all these pieces will be covered with synth leather to match the seats and console colors.

center7.jpg

center6.jpg

Below you can see some of the pictures of the docs kustom panel, tpi gauges, and remainder of the original dash bezel. Luckily the doces panel fit right into the original bexel of the frame without any trouble. To secure it on the back I used a couple of smaller l brackets and trimmed em back and bit to help clamp the panel to the original bezel. I might get another and try my luck at trimming it differently for a better vlamping fit. But that will come later when i get ready to really tears this truck down in the future to do ti right once and for all.

pan4.jpg

pan7.jpg

pan6.jpg

gaugesinplace.jpg

Above you can see the gauge installed in there new homes I need to get them grounded and see if the lights in them work :D. then run the speedometer signal wire to the sending unit underneath the truck.